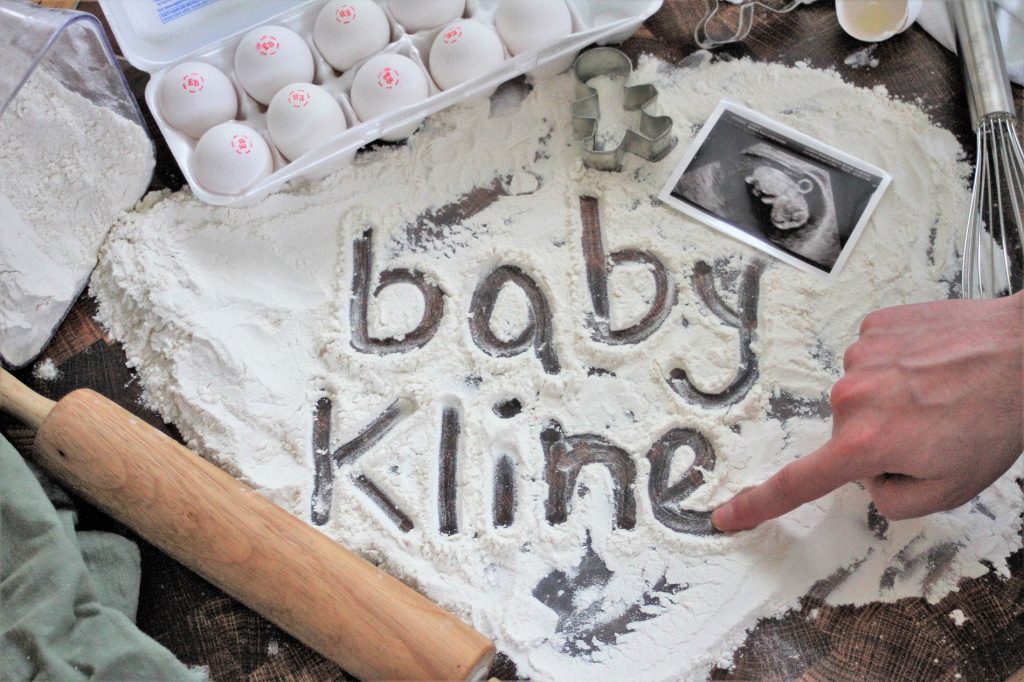
Happy New Year, friends! I know I’ve been MIA for a little while, but I have big news! I’m happy to announce that we are expecting out first child! Baby boy Kline is making his arrival this summer! My husband and I could not be more excited. The past 2 months have been ROUGH, let me tell you. Between nausea, extreme fatigue, heightened sense of smell, and weird food aversions, I have barely stepped foot in my kitchen. When we found out we were pregnant, I did a ton of research on what healthy foods I should be eating, proceeded to go shop for a bundle of healthy foods, then BAM- morning sickness. Suddenly none of my regular foods sounded good to me, and what I ended up eating for the first couple weeks were mac and cheese, and pizza. But I’m happy to say the nausea has mostly subsided, and I’m finally able to get back to cooking dinners and baking again.
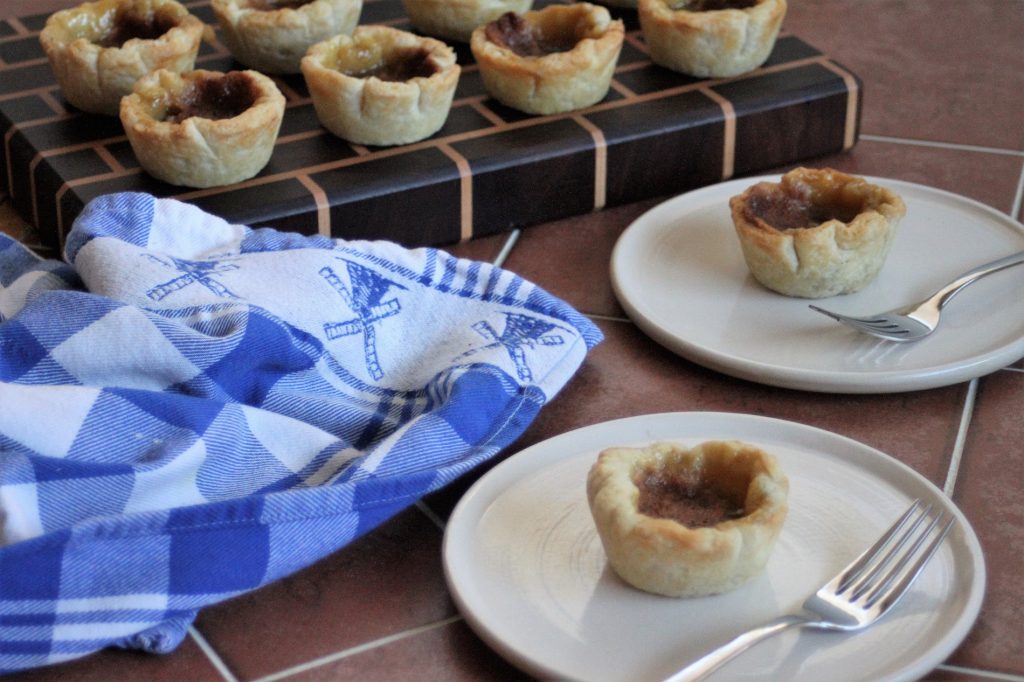
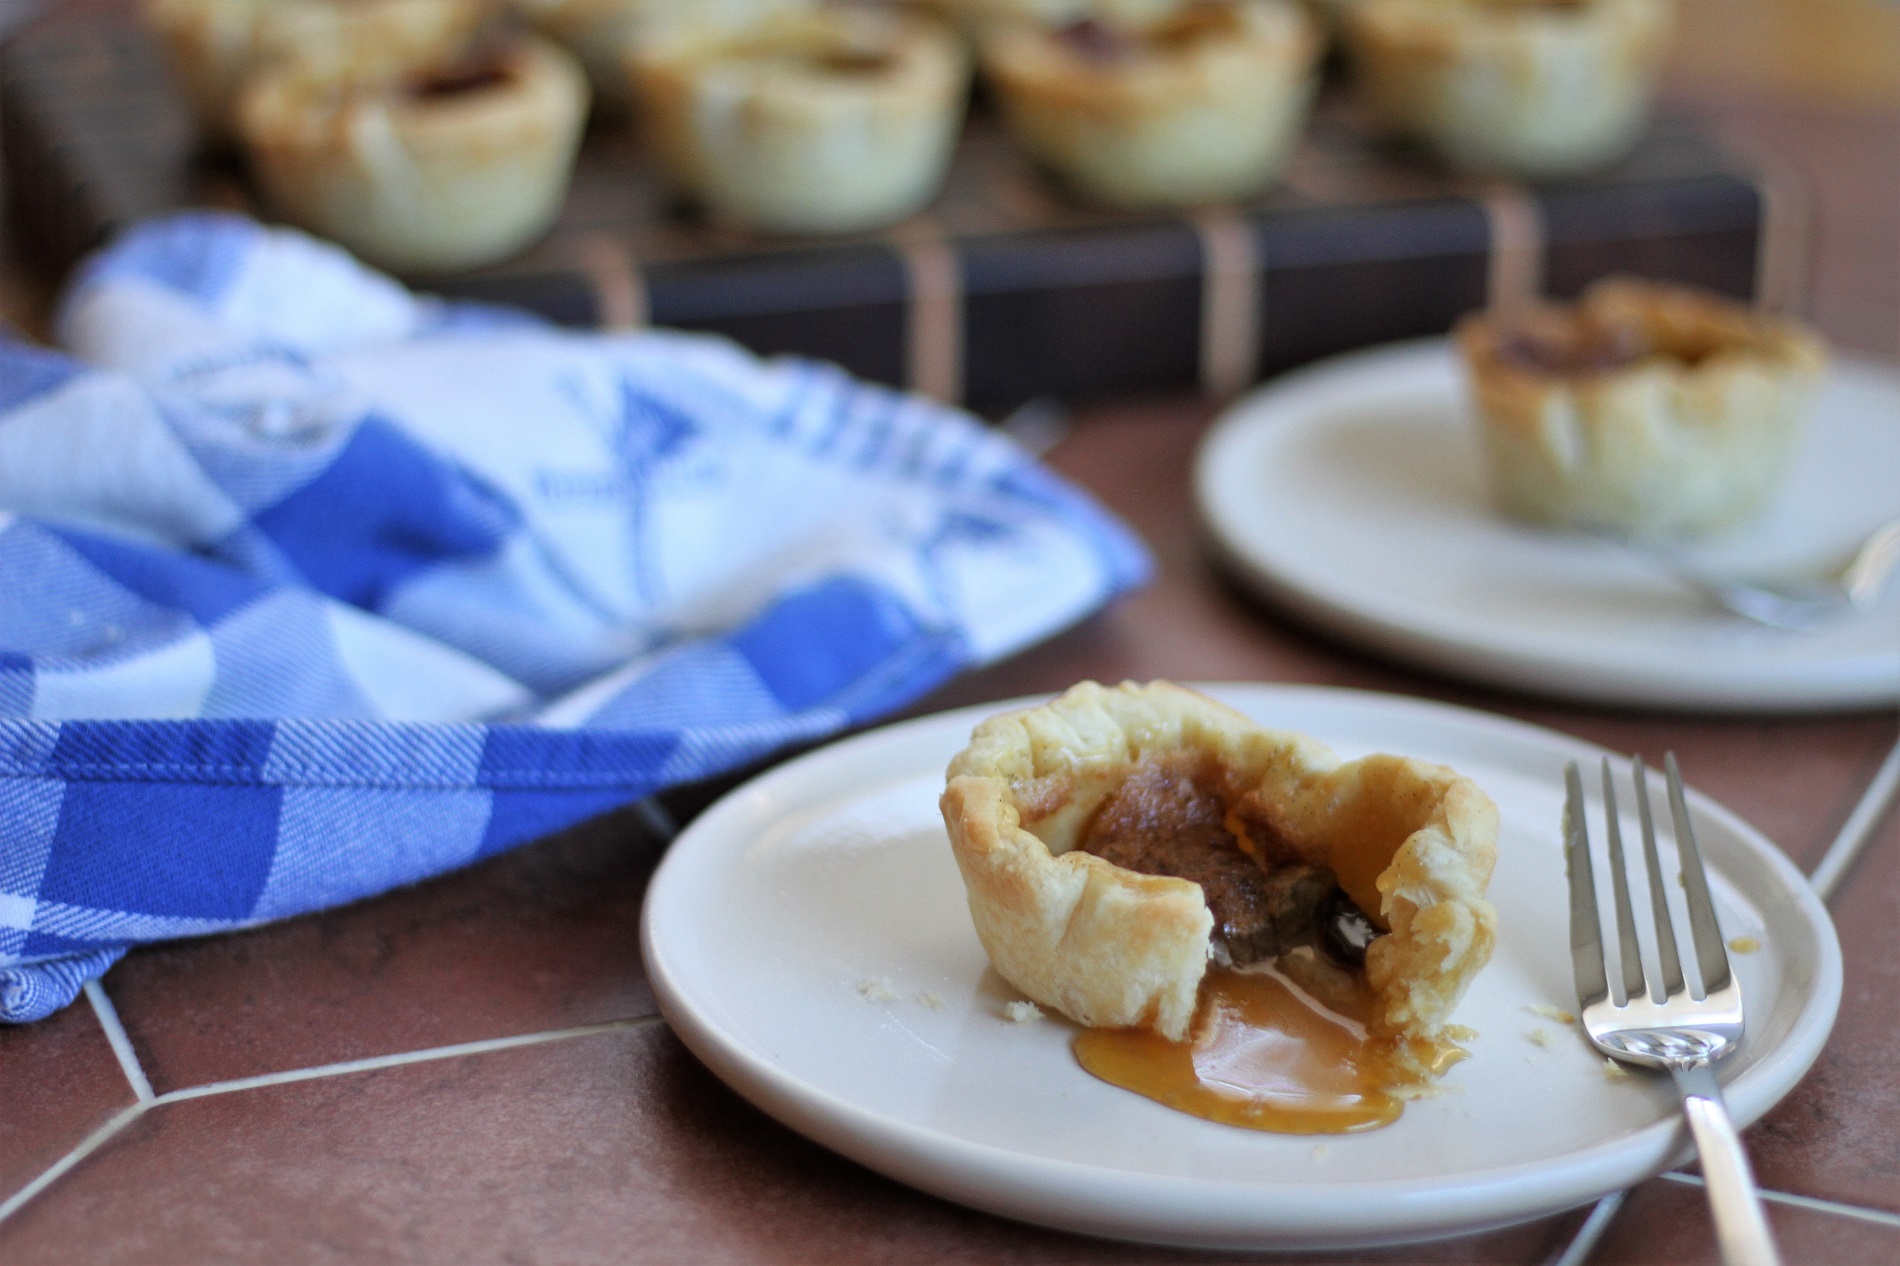
Let’s talk about these BUTTER TARTS! These are popular in Canada, and although I’ve never actually eaten an authentic Canadian Butter Tart, I’ve done a lot of research and you can pretty much call me an expert now. =D
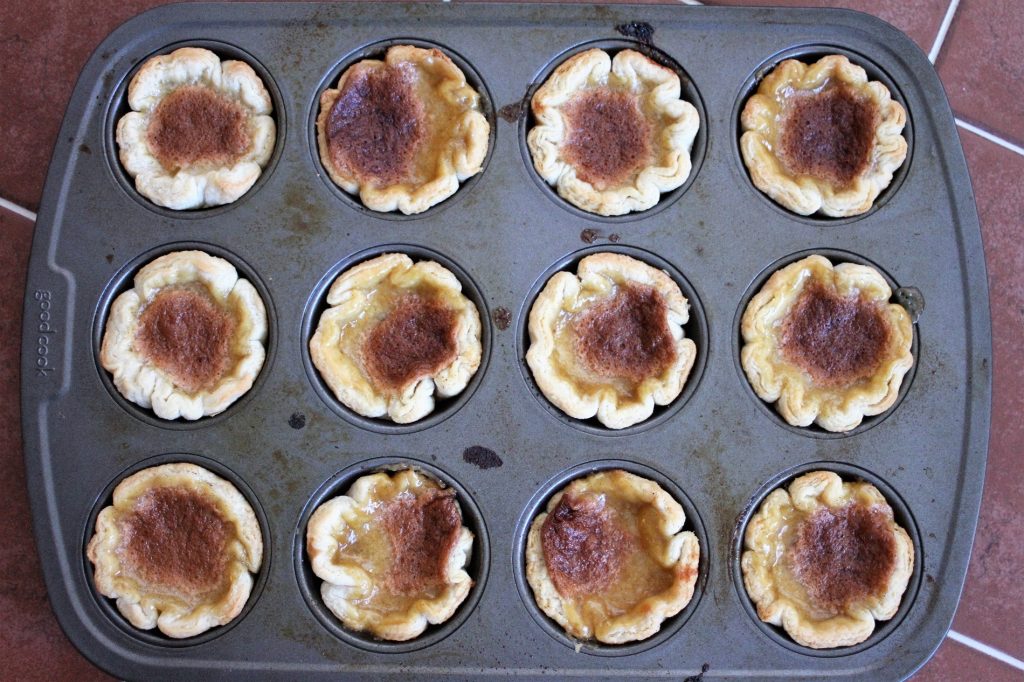
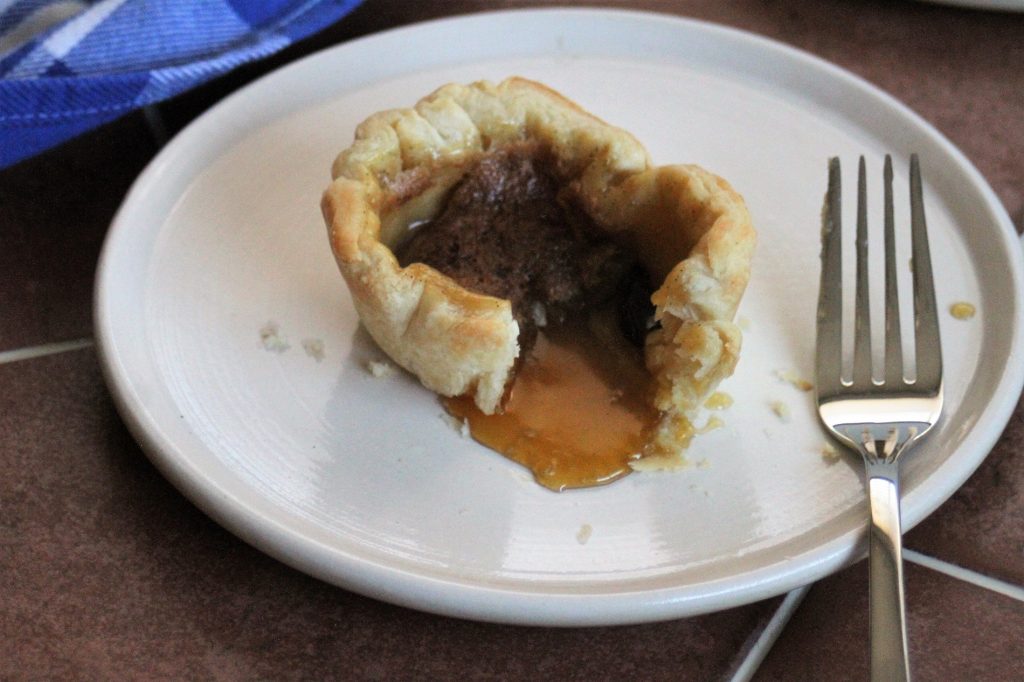
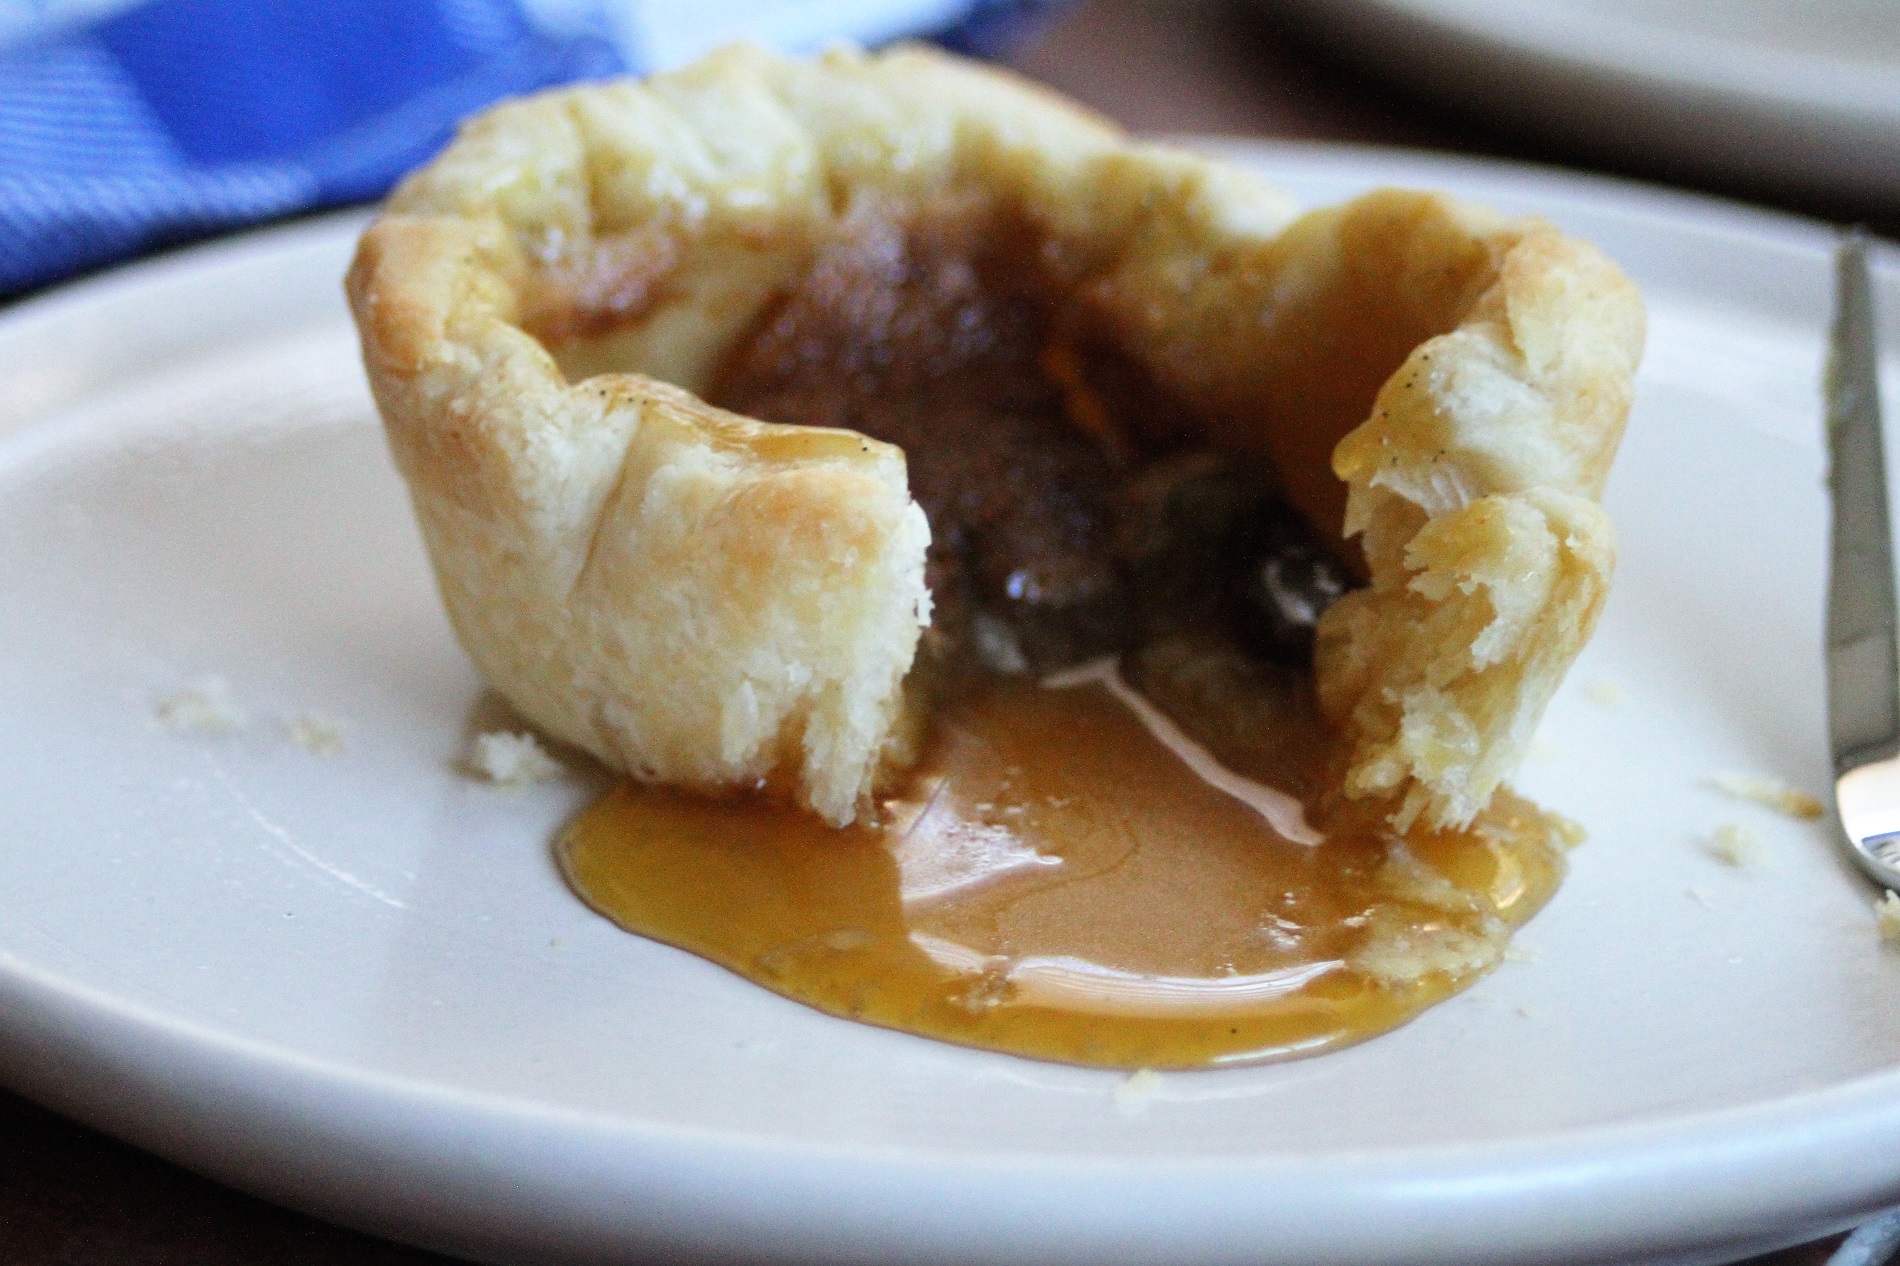
These tarts are traditionally made with an easy dough similar to pie dough, but I wanted to enhance it by laminating the dough. This makes the shell flakey, crispy, and oh-so-delicious. It’s then filled with a mixture of brown sugar, corn syrup, melted butter, and a single egg. I upped the salt for my recipe, because traditionally it just tastes too sweet for me. The end result is a thin, runny caramel that pours out as soon as you tear into the tart. It’s a salty sweet decadent dessert that comes together easier than you’d think! Raisins are traditional to add to the tart filling, but it can also be made with nuts, chocolate chips, or other dried fruit.
Canadian Butter Tarts
Yield 12 tarts
Pastry dough
Flour 2 ¼ cups
Sugar 1 Tbsp.
Salt ½ tsp
Butter, cold 1 cup
Ice water 6-8 Tbsp.
Filling
Brown Sugar ½ cup
Corn Syrup ½ cup
Butter, melted ¼ cup
Egg 1
Vanilla 1 tsp
Salt 1 ½ tsp
Raisins ½ cup
Directions:
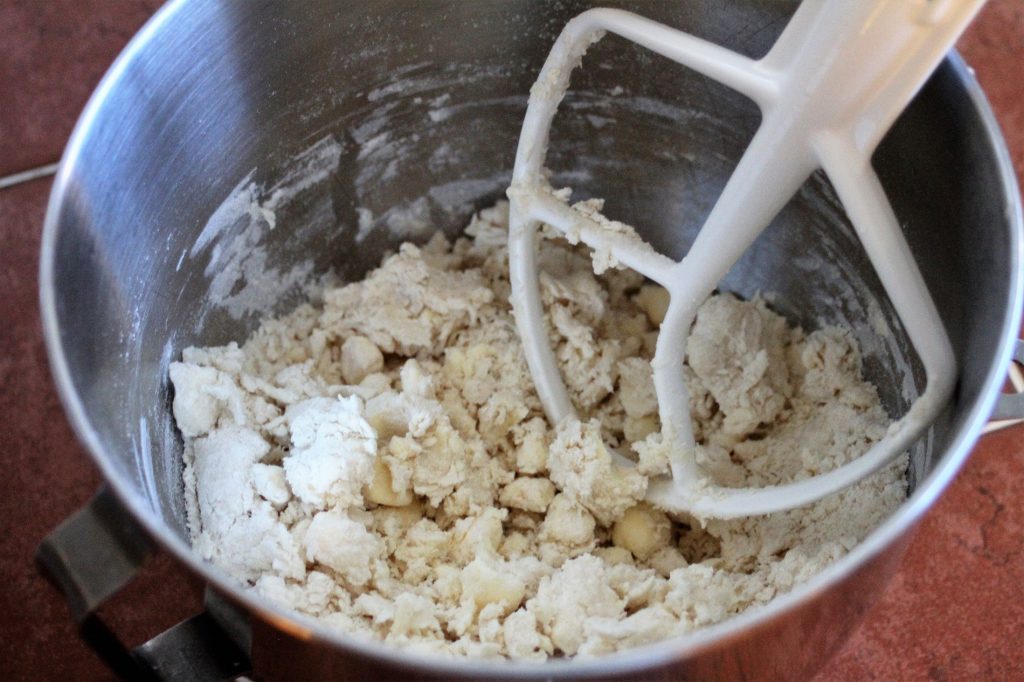
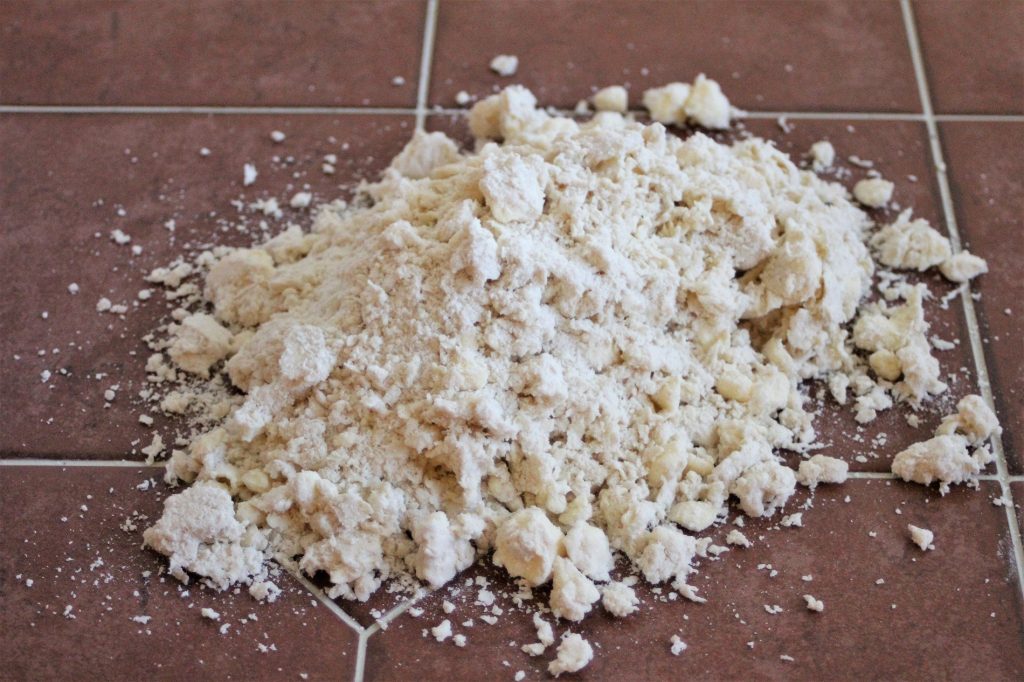
Make the pastry first. Cube the butter and place in the freezer to get extra cold. Place flour, sugar, and salt in a stand mixer fitted with a paddle. Add cold cubed butter and turn mixer on low to mix the butter chunks into the flour. Add in ice water, 1 Tbsp. at a time until mixture appears shaggy. Avoid the urge to add more water. Dump mixture onto a clean surface. Wet your hands and form mixture into a large flat disk. Wrap disk in plastic and chill in the refrigerator for 20 minutes.
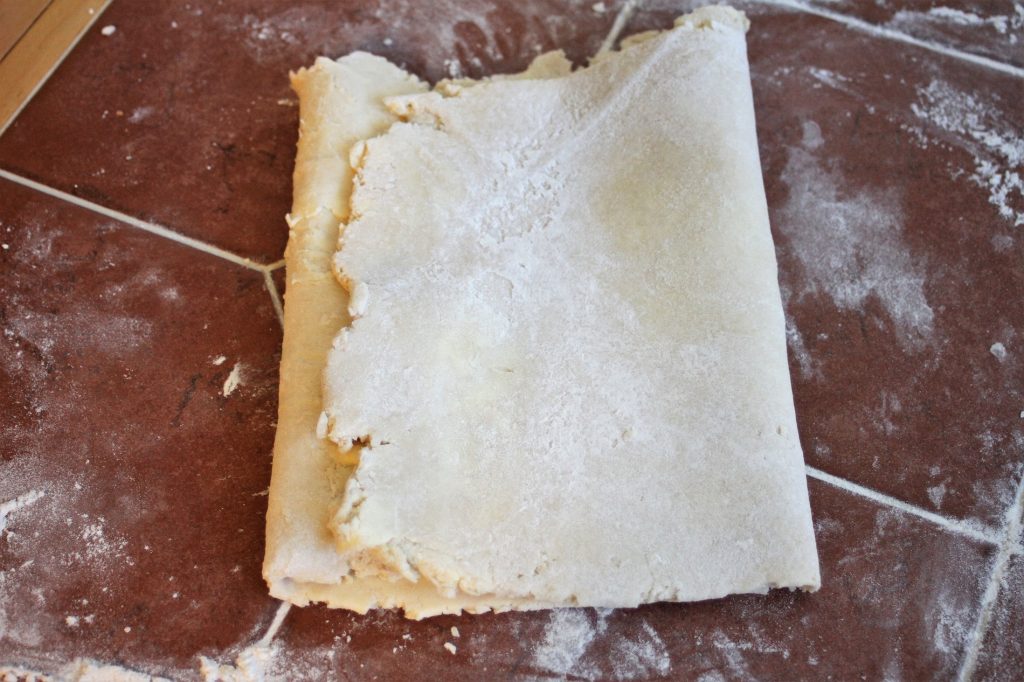
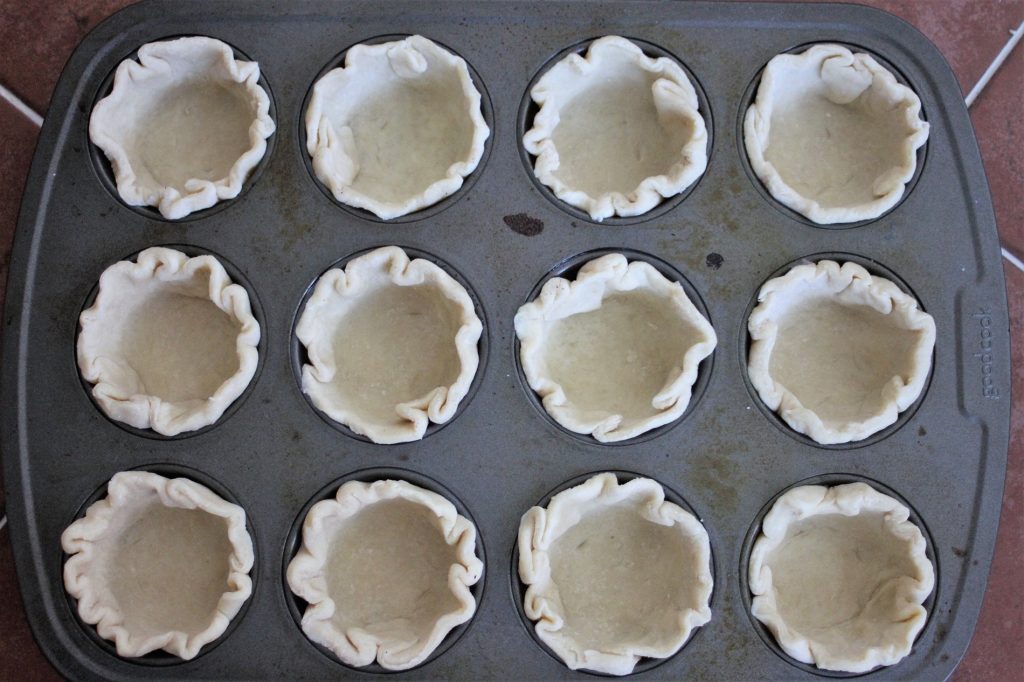
Spray a muffin tin with non-stick baking spray. Un wrap dough and roll out onto a clean work surface. Roll dough to roughly 10”x10” square. Fold the left side into the middle of the dough, then fold the right side over the left side. Rotate dough 45 degrees, then repeat folds 2 more times. Roll dough out one last time, to about 1/8” thickness. Use a 4” cookie cutter to cut out 12 circles, you may need to re roll the dough to get 12. Fit each circle of dough into each muffin tin cavity. Freeze the tart shells while preparing the filling.
Preheat oven to 425 degrees Fahrenheit.
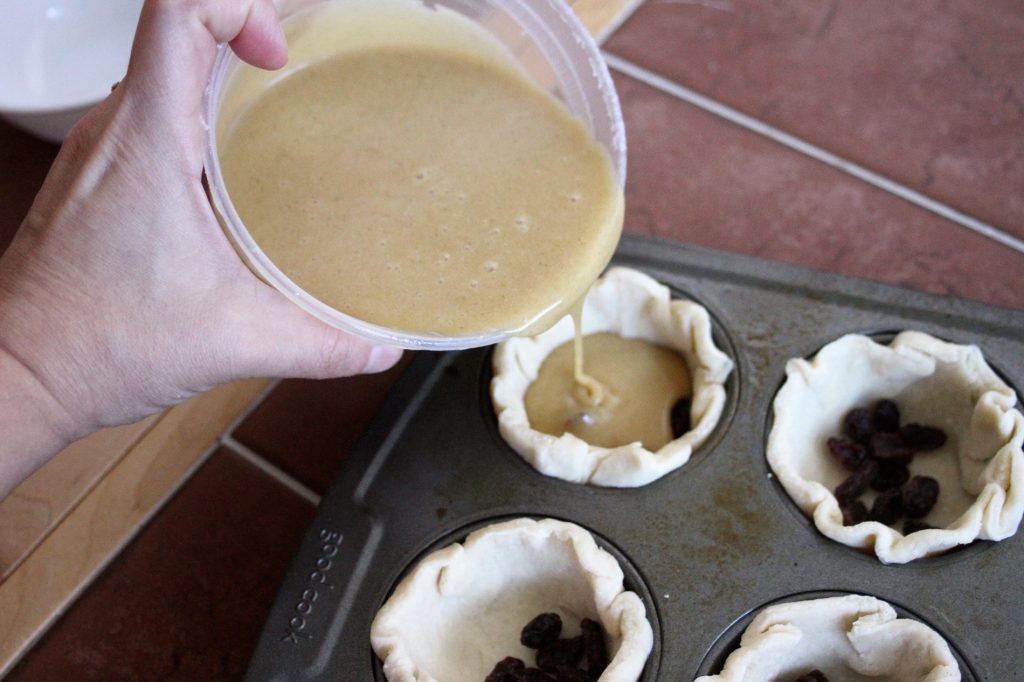
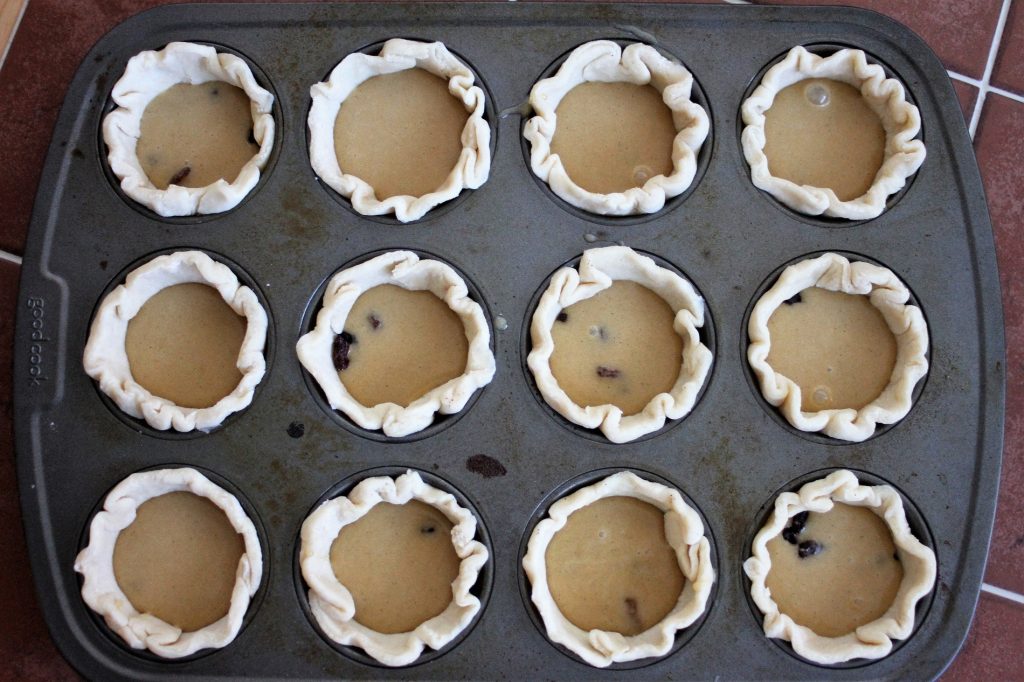
In a mixing bowl, combine melted butter, brown sugar, corn syrup, salt, and vanilla. Whisk together. Add egg then whisk together. Fill each tart shell base with raisins. Pour the filling over top, filling up about ½ way on each tart. Bake tarts for 14-15 minutes, or until the edges of the shell appear golden brown. Remove pan from the oven. Run a knife around the tart shells. Cool tarts at room temperature in the muffin tin completely before trying to remove, about 2 hours. Use an offset spatula to lift tarts out of the muffin tin. Serve on a plate, enjoy!
Canadian Butter Tarts
Ingredients
Pastry dough
- 2 1/4 cups flour
- 1 Tbsp. sugar
- 1/2 tsp salt
- 1 cup cold butter
- 6-8 Tbsp. ice water
Filling
- 1/2 cup brown sugar
- 1/2 cup corn syrup
- 1/4 cup melted butter
- 1 egg
- 1 tsp vanilla
- 1 1/2 tsp salt
- 1/2 cup raisins
Instructions
- Make the pastry first. Cube the butter and place in the freezer to get extra cold. Place flour, sugar, and salt in a stand mixer fitted with a paddle. Add cold cubed butter and turn mixer on low to mix the butter chunks into the flour. Add in ice water, 1 Tbsp. at a time until mixture appears shaggy. Avoid the urge to add more water. Dump mixture onto a clean surface. Wet your hands and form mixture into a large flat disk. Wrap disk in plastic and chill in the refrigerator for 20 minutes.
- Spray a muffin tin with non-stick baking spray. Un wrap dough and roll out onto a clean work surface. Roll dough to roughly 10”x10”square. Fold the left side into the middle of the dough, then fold the right side over the left side. Rotate dough 45 degrees, then repeat folds 2 more times. Roll dough out one last time, to about 1/8” thickness. Use a 4” cookie cutter to cut out 12 circles, you may need to re roll the dough to get 12. Fit each circle of dough into each muffin tin cavity. Freeze the tart shells while preparing the filling.
- Preheat oven to 425 degrees Fahrenheit. In a mixing bowl, combine melted butter, brown sugar, corn syrup, salt, and vanilla. Whisk together. Add egg then whisk together. Fill each tart shell base with raisins. Pour the filling over top, filling up about ½way on each tart. Bake tarts for 14-15 minutes, or until the edges of the shell appear golden brown. Remove pan from the oven. Run a knife around the tart shells. Cool tarts at room temperature in the muffin tin completely before trying to remove, about 2 hours. Use an offset spatula to lift tarts out of the muffin tin. Serve on a plate, enjoy!
I did like this for my son in law whose gluten-free so I used almond flour and put pecans instead of raisnins. He loved them.
I’m glad you liked it!